
Mac models with an M1 processor are very fast. The performance of the M1 Mac will only gradually increase as more programs are optimized for the Apple Silicon processor. However, the M1 models do not support Bootcamp, and this is a clear disadvantage. Fortunately, there is a way to install Windows 10 and on the M1 Macs such as MacBook Air, MacBook Pro, Mac mini, or iMac.
The M1 processor is very different from all other computer processors. It was easy for x86 processors to run Windows 10, and now that has changed. You can install Windows 10 on the M1 Mac using Parallels Desktop.
This method does not run Windows 10 on the M1 Mac but uses a virtual version of the system. Performance can suffer as a result. In addition, there may be problems with the compatibility of programs.
Table of Contents
Will Bootcamp be out for the M1 Mac?
It used to be possible to install Windows 10 on a Mac using Bootcamp. This program simply created a partition on the Mac hard drive and installed Windows 10 into it. However, this will not work on the M1 Mac.
M1 Mac models no longer support Bootcamp, which means you have to use other programs to run Windows 10. Parallels Desktop is a popular example that has already been updated for the M1 Mac. Using the program, you can install Windows 10 alongside macOS Big Sur on your M1 Mac.
Preparing to install Windows 10/11 on the M1 Mac
- Make sure you have at least 22 GB of free memory on your Mac.
- You will be installing Windows 10 ARM on your M1 Mac. This is a version of Windows 10 designed for devices without x64 CPU like the M1 Mac. Some Windows programs will not be supported.
- You need to download Parallels Desktop 16 for Mac.
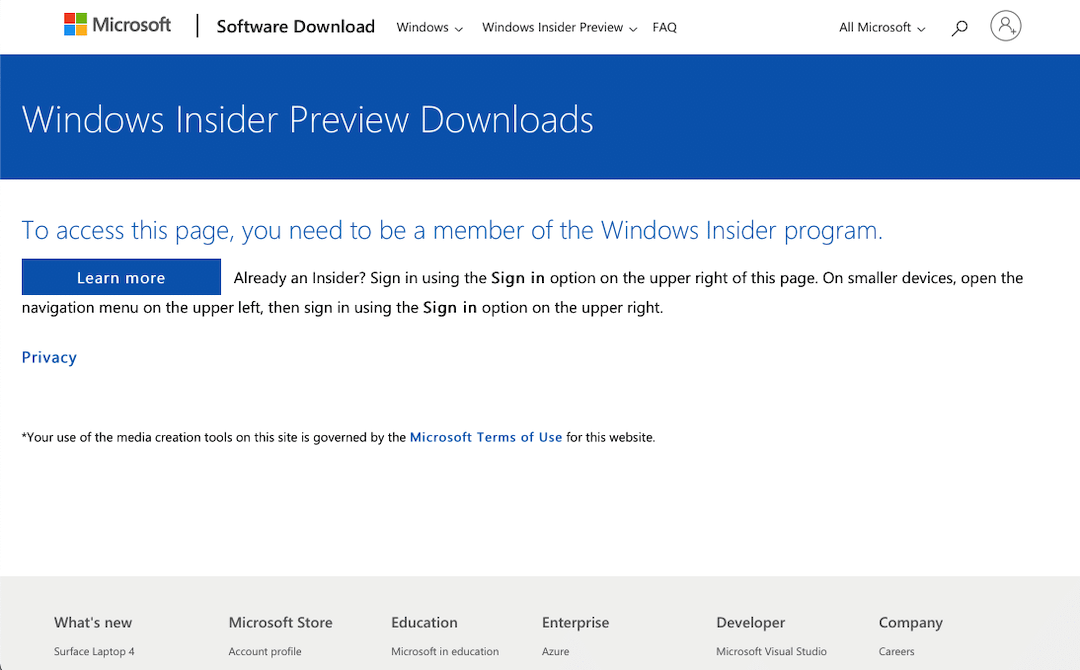
- Download the Windows 10 ARM VHDX file from the Microsoft Insider Program site . It’s free, but you need a Microsoft account and Windows Insider registration. The file size is about 10 GB.
How to install Windows 10/11 on an M1 MacBook Air, MacBook Air, iMac, or Mac mini
Step 1: Launch the Parallels Desktop on Mac.
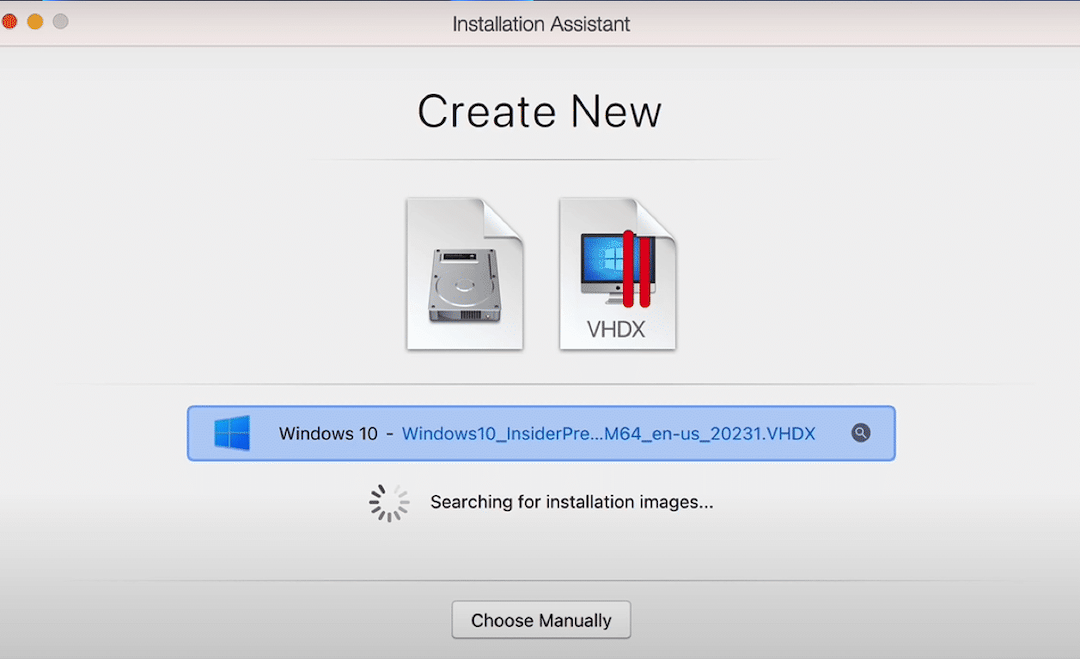
Step 2: The Installing ARM notification will appear. Click Continue and then select the Windows 10 VHDX file you downloaded earlier.
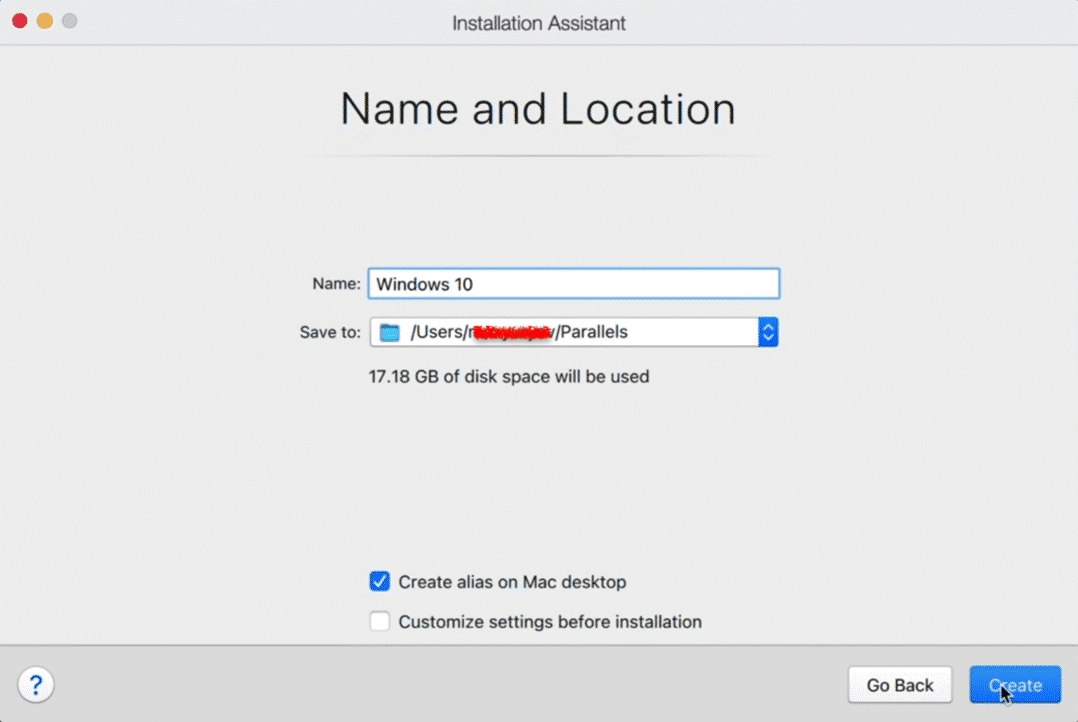
Step 3: Name the “virtual machine” Windows 10 and choose the folder to save. At this point, you can configure various options.
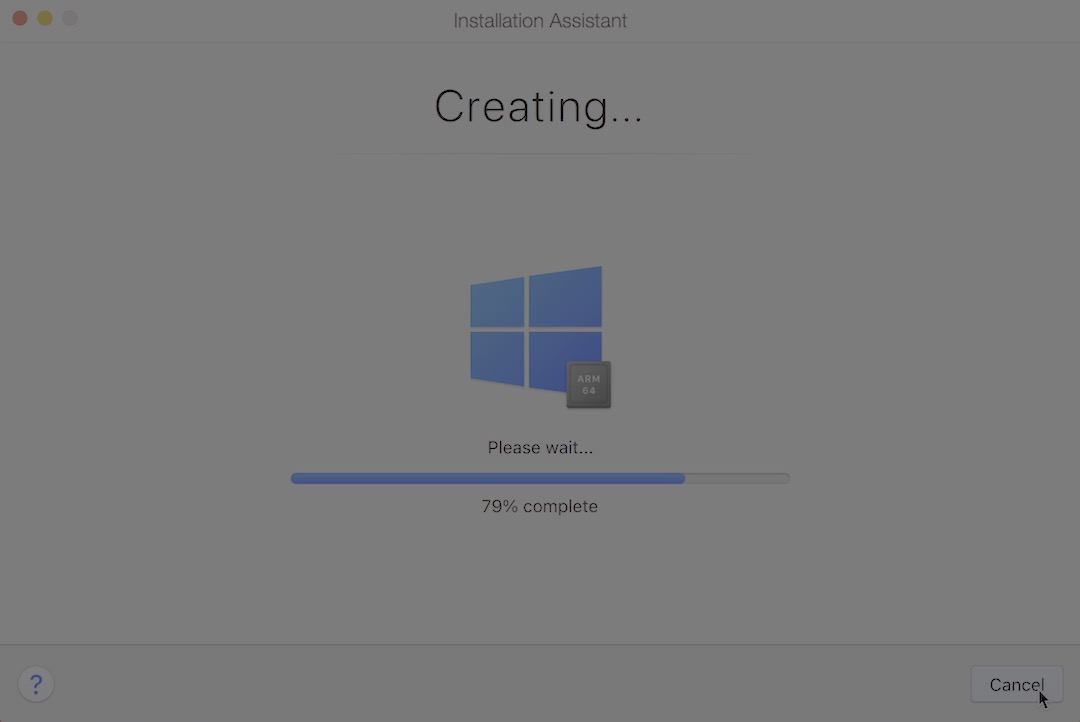
Step 4: Click Create and wait for the process to complete.
Step 5: Before starting the installation, Parallels Desktop will open a preferences window. You can choose how many cores the Windows 10 virtual machine will use, RAM, and more.
Step 6: If you are happy with everything, just click Continue.
Step 7: The process of installing Windows 10 on Mac will begin. This will take up to a few minutes to install.
Step 8: After the installation is complete, log in to your Parallels account. This is necessary to comply with the settings.
Step 9: Update Windows 10 before using it by going to Start> Settings > System and Security and clicking Update.
That’s all folks. Now you can install the Windows programs you need on your Mac.
As a reminder, not all Windows 10 programs are compatible with the ARM version. Some programs may not work. But the programs Microsoft Office, Google Chrome and many others have already been updated.