
Mac screen recording is especially useful if you’re writing any type of training or instruction on how to use macOS. There are many different third-party apps, but Apple offers its own free Mac screen recording utility. In this article, we will show you two ways to record your screen on macOS.
- Built-in macOS Tool
- Screen Recording Using Third-Party Apps
The latest versions of macOS (Mojave and later) on Mac have a hidden Screen Recorder app with more advanced controls, a recording timer, the ability to change where recordings are stored, enable/disable mouse pointer display, remember the last selection, microphone controls (record desktop with and without sound) and much more.
If you want to make a simple Mac screen recording, then the built-in features of this macOS utility will be enough for you. However, if you need advanced Mac screen recording functionality, we’ll cover some third-party apps as well.
Table of Contents
How to Record Mac Screen Video using Built-in macOS Tool
- On the Mac keyboard, press the combination Command + Shift + 5 (this can be invoked when an application is running).
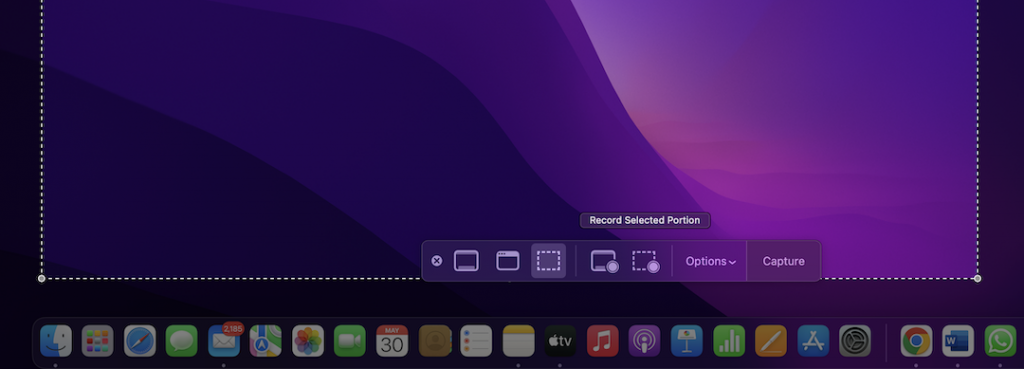
- In the lower middle of the screen, select the rectangle with the circle icon to record the entire screen, or the rectangle with the dotted line and the circle icon to record a selected portion of the screen.
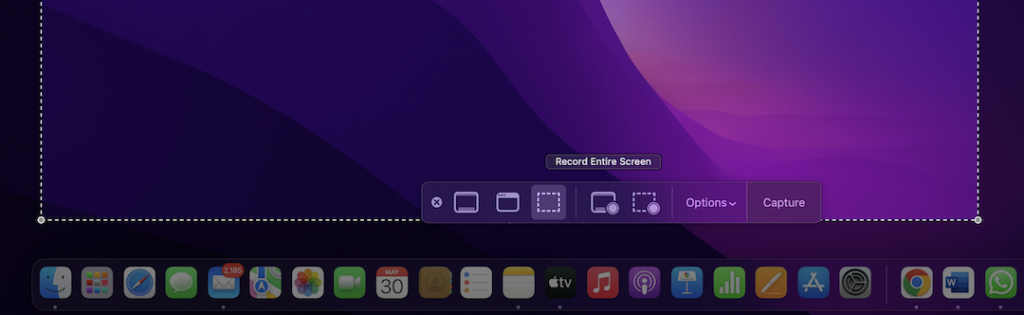
- If you want to turn on the microphone then click on the option button, display cursor, select save location, etc.
- Click on the Record button to get started.
- When you’re done, click the Stop button (a circle with a square icon) in the menu bar at the top right of the screen.
- The recorded video will be saved to your Mac’s desktop by default, unless you choose a different save location.
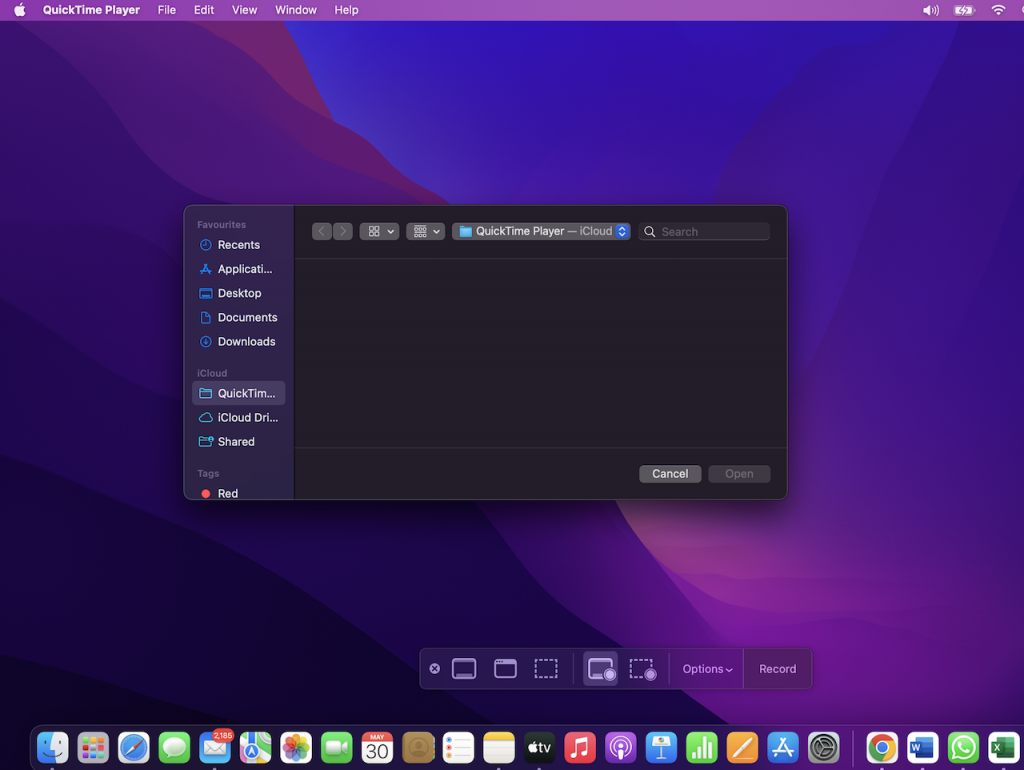
Alternatively, you can also open this menu through QuickTime by clicking File > New Screen Recording, but a keyboard shortcut is usually faster.
Here’s what it looks like on Mac:
macOS Screen Recording Panel. Here you can configure the settings: save location, timer, microphone, hide thumbnail and mouse cursor.
If you have multiple monitors, you will be able to choose which screen to record (when selecting full-screen mode and screen recording).
When finished, click the Stop button (a circle with a square icon) in the menu bar at the top right of the screen.
You can find your saved screen recording on your desktop or wherever you selected it during setup.
Third-Party Apps for Screen Recording on Mac
If you need advanced screen recording features, then use the CleanShot X app. Below are the features of CleanShot X:
- Adding annotations to videos
- Quick Access Toolbar
- Record the entire screen, selected area, single window, etc.
- Image Freeze
- Reliable Screen Recording
- Record as GIF
- Do Not Disturb Automatically
- Show/hide cursor
- Hide desktop icons while recording
- Capturing mouse clicks
- Capturing keystrokes
- Upload screenshots and recordings to CleanShot Cloud
- Tags
- Team records management
- Custom domain and branding
There are a few more popular third-party screen recording apps for Mac that are worth a look. You can use Snagit which is available for free trial. Other tools like Monosnap also come with a free basic plan. You’ll need to pay $2.50 or $5 per month, respectively, for the Business plans for more advanced features. And, ScreenFlow 10, a paid Mac screen recording app, has the same powerful built-in recording editor as FinalCut Pro.
You can also check out the best Windows screen recording apps.
That’s all for today guys! Now you know how to record screen on your Mac device using the built-in app. Do share this article with your friends and colleagues!